
Open Broadcaster Software (OBS) Screen Recording – Free & Easy Guide
Open Broadcaster Software (OBS Studio) is one of the most popular free tools for screen recording and live streaming. Whether you are a gamer, teacher, or content creator, OBS allows you to capture your screen in HD with no watermarks. With powerful features like multiple sources, audio mixing, and custom layouts, OBS is a go-to choice for professionals and beginners alike. In this guide, we’ll explain how to download, install, and use OBS for screen recording step by step. By the end, you’ll be ready to record smooth, high-quality videos directly from your desktop.
🔹 Key Features for Screen Recording
- Free & Open Source – No watermark, no restrictions.
- High-Quality Recording – Supports HD & 60fps recording.
- Multiple Sources – Record screen, webcam, audio, and overlays together.
- Custom Scenes – Switch between different screen layouts.
- Cross-Platform – Works on Windows, macOS, and Linux.
\🔹 How to Record Screen with OBS (Step-by-Step)
- Download & Install OBS
- Go towebsite
- Download the version for your OS and install it.
- Set Up Recording Scene
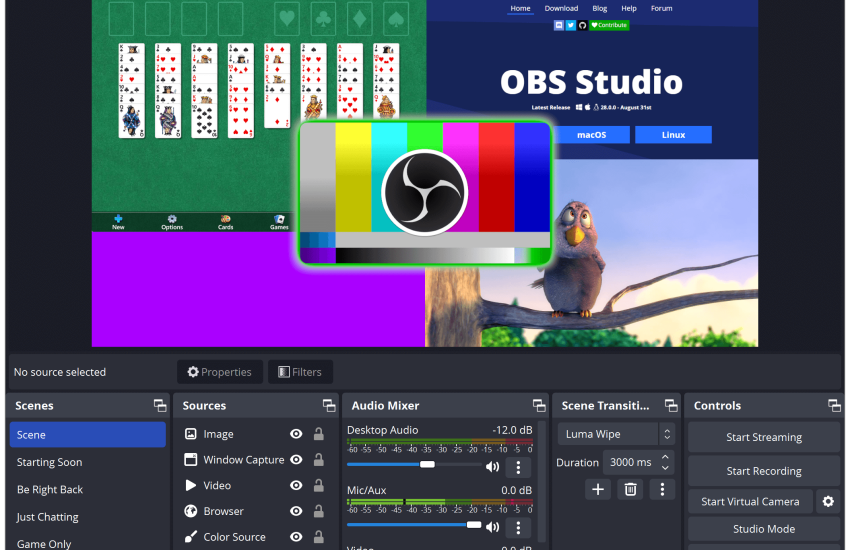
- Open OBS → Click + under Sources.
- Choose Display Capture (for full screen) or Window Capture (for a specific app).
- Adjust Audio
- OBS automatically adds desktop audio & mic input.
- Check levels in the Audio Mixer.
- Set Output Settings
- Go to Settings > Output → Choose recording quality & format (MP4, MKV, FLV).
- In Settings > Video, set resolution (1920×1080) & FPS (30 or 60).
- Start Recording
- Click Start Recording in the bottom-right.
- To stop, click Stop Recording